The other day I was trying to install RedHat Linux on laptop and took some screen shots of the process involved. I will try to give each screen shot a short description for better understanding.
Step 1: Put in the DVD, boot the system from it and press "F12" to move forward

Step 2: Click "Next"

Step 3: Select the desired language and click "Next"

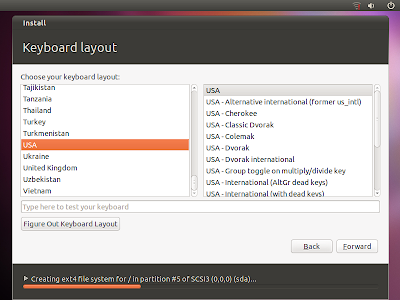
Step 4: Select the keyboard language and click "Next"

Step 5: If you have a subscription to RedHat please enter it here in the "Installation Number". It will by default install all the subscribed packages during the installation. In my case, I personally do not have any subscription so I selected "Skip entering Installation Number". Click "OK" to continue

Step 6: Click "Skip" to reconfirm that we do not want to enter any Installation Number.

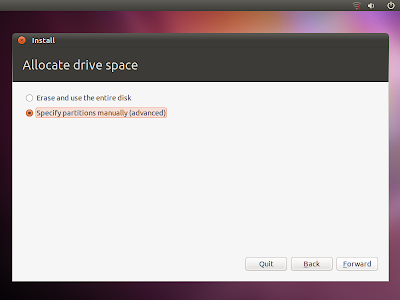
Step 7: Select "Create custom layout" and click "Next"
If you have more than one hard disk it will be displayed here as h/sda, h/sdb, h/sdc,...'h' if it is IDE and 's' if it SATA (and each partition in the hard disk will be named as sd
a1, sd
a2, sd
a3,...). We have chosen the last option because we want to create our own layout and to make sure that the installation doesn't delete the Windows partition.

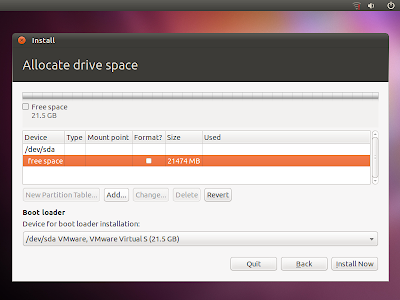
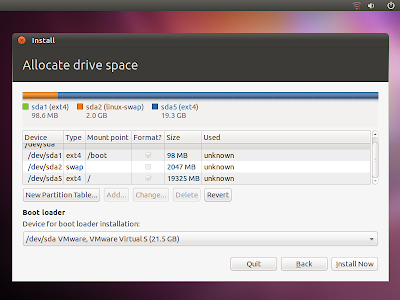
Step 8: By looking at the below picture we understand that my only hard disk has five partitions. sda1 = recovery partition, sda2 = Windows boot loader (created by default during Win 7 installation), sda3 = C: partition, sda4 = D: partition and Free = Free space. All these partitions are formatted using 'ntfs' except the last partition which is not formatted.
On a particular hard disk only 4 Primary partitions can be created. And to install an Operating system atleast one primary partition is required. If we analyze my hard disk all 4 primary partitions have been utilized so the only option I have is to overwrite any of the existing primary partition. (Ofcourse the 'Free' partition will remain unused. If I want to utilize that space then I will have to format that partition as ntfs and merge it with any of the existing primary partition.)
I decided to use my D: partition i.e., sad4 since I had already backed up that data from that drive.

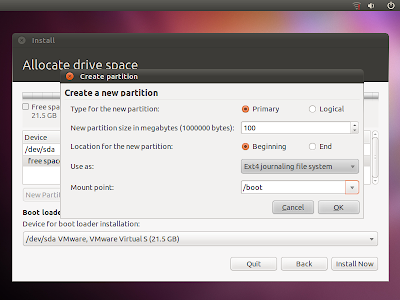
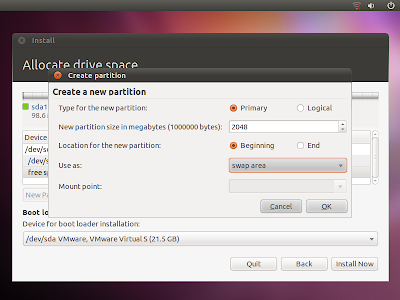
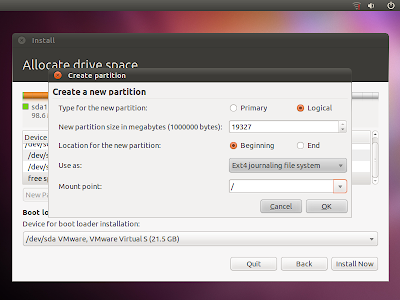
Step 8: Once you have selected the partition and clicked "Next" the following option will let you create the root (/) partition for Linux (which is mandatory) and format it with "ext3". In Ubuntu we get the latest file system format which is "ext4". Click "OK" then "Next" to proceed

Step 9: It will now throw a warning message that the /swap partition wasn't created. It is recommended to create one with twice the size of RAM installed on the computer. In our case since we are already short of primary partitions we cannot create this partition. We will ignore the message and continue with the installation.

Step 10: Just a reconfirmation that we have selected sda4 (was D: drive before) and want to format it with ext3 format and it will be assigned as / (root) partition. Click "Format" to format the partition.

Step 11: The next step will let us install the boot loader and configure the boot sequence at the system start up. In our case there are two option already listed for us. The second option on device "sda4" is obviously for Linux. But what is the first option on device "sda2" for? If it is Windows 7, should it not be pointing to "sda3" (C: drive) where Windows is installed?
This might seem logical at first, but if we pay attention to the Step 8 above we have said that Windows 7 by default creates its own boot loader on a separate partition i.e., "sda2" in my case. Although the installation files are installed on "sda3=C: drive" the boot information that needs to be accessed at the system start up is stored on "sda2=Windows boot loader". That is why we see the device "sda2" already listed as an option. We can edit this entry (by selecting it and then clicking "Edit") and change its name to something appropriate "Windows 7 - 32 bit".
In the screen shoot I have selected Linux to be the default OS. At the system start up 5 seconds will be given to choose between these OS's. If we do not provide any option it will start the default OS.

Step 12: Select the time zone and click "Next"

Step 13: Provide the root password. Note that the "root" user has all the privileges on the system. Make sure you use a strong password.

Step 14: Select if any of the additional packages are to be installed. Office here refers to Open Office.

Step 15: Click "Next" to begin the installation


Step 16: Click "Reboot" to restart the system

Step 17: After the reboot the final configuration options are displayed. Click "Forward" to continue

Step 18: Agree to the license agreement and click "Forward"

Step 19: Here we can select the services that can be accessed from outside. We usually keep SSH service enabled for any remote troubleshooting.

Step 20: This is used at an advanced level. We may disable this option or keep the default option which us "Enforcing"

Step 21: kdump is used to capture the information if the system crashes. This is very helpful in determining/troubleshooting the problem as we will not have any access to the system resources. Click "Forward" and then "Yes" on the following screen.


Step 22: Select the date and time

Step 23: Click "Forward". You may apply the updates at a later stage.

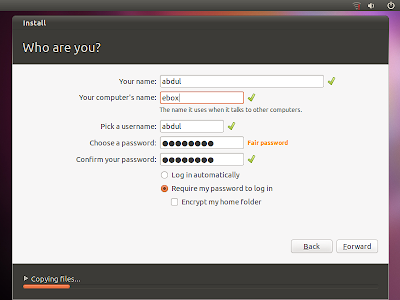
Step 24: Create a user for regular use as we do not want to use the "root" user every time.

Step 25: For me the automatic detection for the sound card did not work. We may install the drivers after the installation if available.


Step 26: If you have any additional CD's, you may continue the installation or click "Finish" to complete current Linux installation and "OK" on the following screen to reboot the system.


